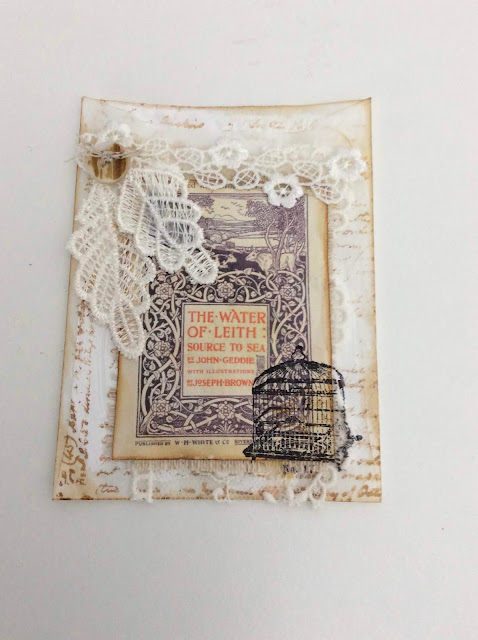
I thought I'd share what I've been doing today.....
Well for starters I've been creating some little pockets and tuck spots for my ongoing junk journals and to do this I've been altering glassine bags.
I know it is really easy to make your own glassine bags/envelopes but the ones I worked on today were purchased from The Pumpkin Paper Co. Size wise they are 6.5cm x 9cm and portrait orientation i.e the opening flap is at the top rather than at the side. They're very robust and I find they take to being daubed with ink, stain, gesso and tea/coffee really well. However, when it comes to glue I tend to use a viscous one like Ranger Matt Medium or Golden Heavy Gel, so it doesn't warp the glassine too much.
Here are a couple of close up of my altered pieces......
I printed and resized a couple of images that I found on the Internet and then basically collaged and layered them with snippets of lace from my stash, adding threads, tissue paper, vellum, dryer sheets, charms, tiny tags and vintage mother of pearl buttons as the mood took me.
With some I applied a layer of white gesso first, then when dry, stamped over the top using a the script stamp from a Stampers Anonymous stamp set (Entomology CMS328) using Distress Ink (vintage photo) to form a background. On others I stamped additional images over the top from another Stampers Anonymous stamp Set (tiny things CMS164)
I also added scraps of coffee stained paper and hessian to my layering. Mind you I have to admit that I really struggle with collaging and it doesn't come easily to me.
And finally here is my last pocket and the tag I made for inside, both using the same mushroom image......
In addition to the glassine bags I decided to alter a C6 size brown envelope. Firstly I covered the envelope with an old, yellowing book page from an ancient copy of Brideshead Revisited (great book) and then basically I went through the same process as for the glassine envelopes, collaging to my hearts content again. This time I used some Ranger washi tape (Butterflies or perhaps it's called Botanical, sorry not sure) and some ruler washi tape from my stash.
The verdict is still out for me on this envelope.... I think what is putting me off is the 15 dollar stamp in Versamark ink (black) on the vellum. It seems too prominent and in retrospect perhaps I should have gone for brown. I worked on the envelope sealed but cut a slither off down the right-hand side to create the opening for the pocket..... If I decide to use the envelope I'll cut a semi circle into one layer on the RH side, so that it's easier to access as a pocket.
The other thing I made today was an origami box to hold wild flower seeds....
It measures 3" x 2.5" and is held flat with a belly band which I decorated with snippets of Edith Holden paper, a heart made out of layers of old book paper, a lace daisy and a mother of pearl button. I used crotchet thread to sew through all the layers to secure them in place on the belly band. A couple of tiny tags were glued under the edge of the daisy with matt gel.
This is what it looks like when the belly band is slipped off and inside .....
......A tiny packet of wild flower seeds. I stitched two layers of thick vellum together using my sewing machine and secured the ends with tiny hearts cut from Prima Marketing cardstock (Archivist). The edges were inked wit Distress Ink (vintage photo). The planting instructions from the original seek packet was trimmed to size and used to line the bottom of the origami box.
On the reverse of the box is an image of wild flowers that I found on the Internet. Because this box is relatively flat I'm going to use it as an insert for the botanical junk journal I'm currently making. It's so cute and I'm delighted at how it turned out..... I'll certainly be making more.
That wasn't the last of my labours today. I also made a small book which will be another insert into one of my junk journals. I'll be posting on that tomorrow and sharing some photographs, so I hope you'll join me.
Happy crafting....
Carol. xx


No comments:
Post a Comment